Home Golf Simulators:
Build Your Best At‑Home Setup
Skip the guesswork and expensive mistakes—get our Ultimate Golf Sim Planning Tool before you buy a single component.
Just honest reporting from a licensed, experienced team you can rely on.
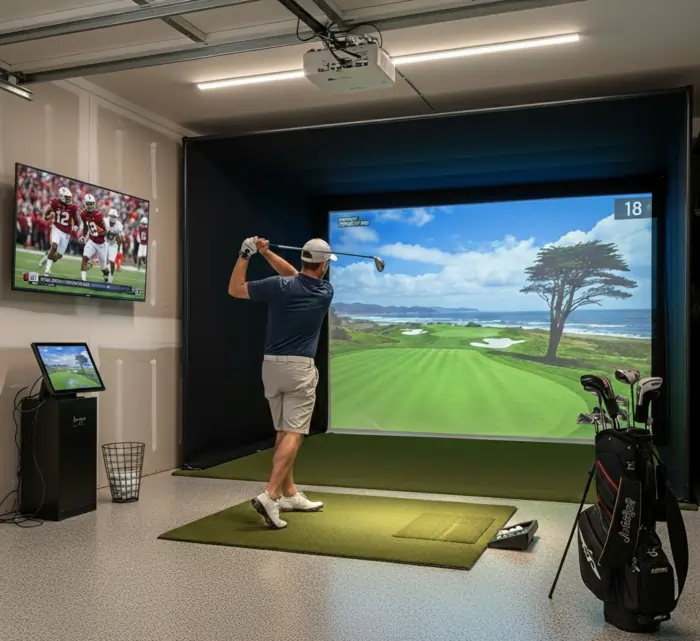
Thinking about a home golf simulator but not sure where to start—or how much you really need to spend? Over 12 years in indoor golf, we’ve tested launch monitors, impact screens, mats, projectors, and enclosures to help you build a simulator that actually fits your room, your game, and your budget.
On this page you’ll find everything you need to plan and dial in a DIY home golf simulator: room size and layout ideas, gear recommendations, sample budgets, and step‑by‑step guides for basement, garage, and spare‑room builds. We’ll also show you how to avoid the common mistakes that waste money or ruin ball flight, and how to keep your setup running smoothly season after season. Start with planning and room dimensions, then dive into launch monitors, software, screens, and all the accessories that turn a hitting bay into a place you actually want to practice and play.
Ready to design your home golf simulator?
Home Golf Simulator Reviews
Dial in every piece of your setup with gear that’s actually been tested or reviewed by real owners. Explore our best‑in‑class reviews for launch monitors, hitting mats, impact screens, enclosures, projectors, and simulator software—all ranked and explained so you can buy once and buy right.
Browse Golf Simulator Categories
Launch Monitor Selector
Find the best launch monitor based on your criteria:
Getting Started: Planning Your Golf Simulator
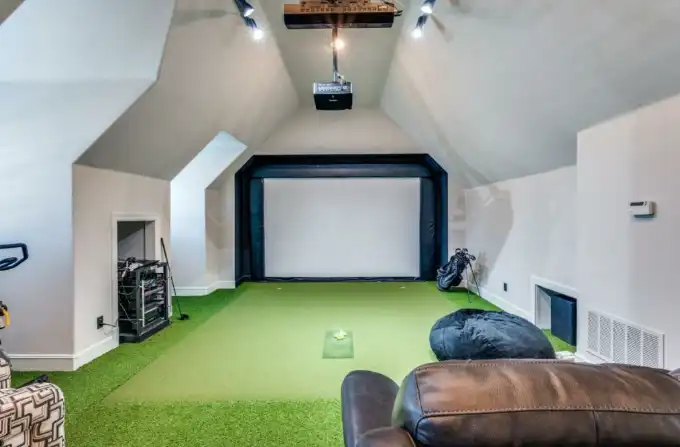
We’ll cover must‑know details like room dimensions, ceiling height, and safe hitting distances so you can choose the right space for your home golf simulator—whether it’s a basement in Virginia, a garage in the Midwest, or a bonus room anywhere else. We’ll also walk through realistic budgets, DIY versus professional installation, and simple layout ideas that work in real homes, not just showrooms. You’ll learn how to evaluate popular golf simulator systems, understand the technology behind launch monitors and golf simulation software, and discover which indoor golf setups deliver the best value for recreational golfers versus serious enthusiasts. Plus, we’ll address common challenges like acoustics, lighting, matting options, and how to optimize your golf simulator room for year-round play without breaking the bank.
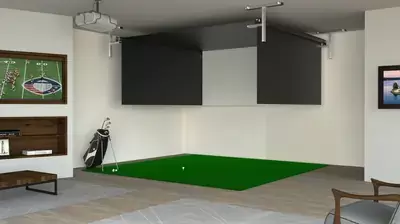
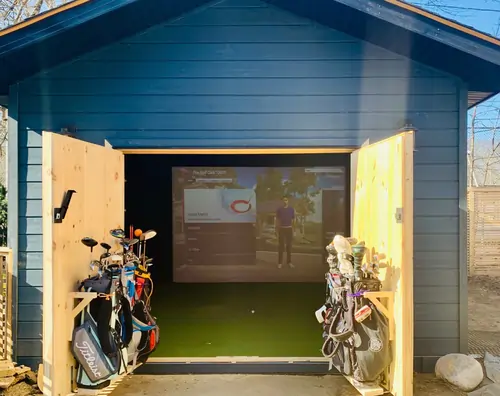
Where to Put Your Golf Simulator

Going Deeper: Understanding Golf Simulator Technology
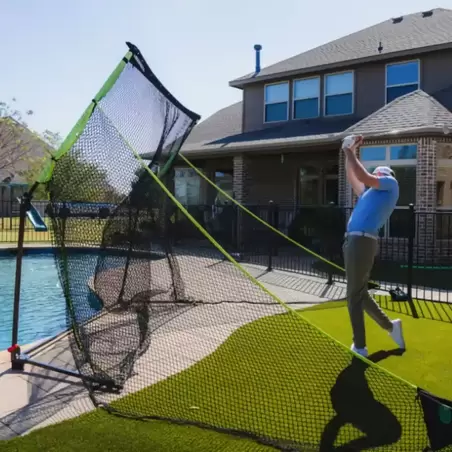
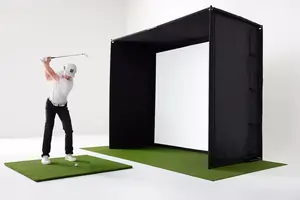
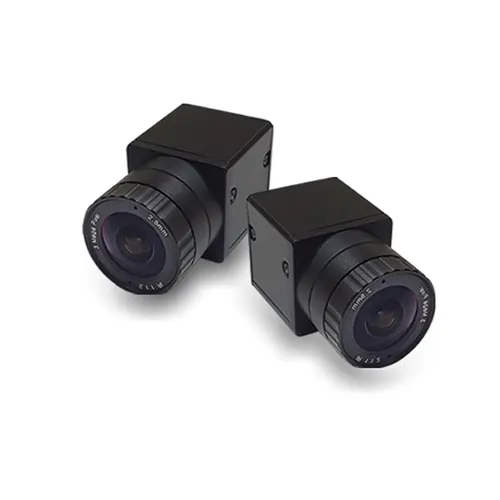
Unpack the world of launch monitors, golf simulator software, and must‑have accessories so your virtual course feels as realistic as the range. Here we compare camera‑based and radar‑based systems, break down popular simulator software options, and highlight the mats, screens, and nets that give you reliable ball data and a smooth indoor‑golf experience. We’ll also explore golf simulator projectors, impact screens, and enclosure systems that enhance ball flight tracking and visual fidelity, while discussing swing analyzers, golf simulator packages, and bundles that simplify the buying process. You’ll discover budget-friendly simulator equipment alternatives, learn which golf simulator brands offer the best accuracy and durability, and understand how to integrate launch monitor technology with your existing golf simulator setup for optimal performance and realistic shot feedback.
Explore More Golf Simulator Technology

Must-Have Golf Simulator Accessories for Your Indoor Golf Studio
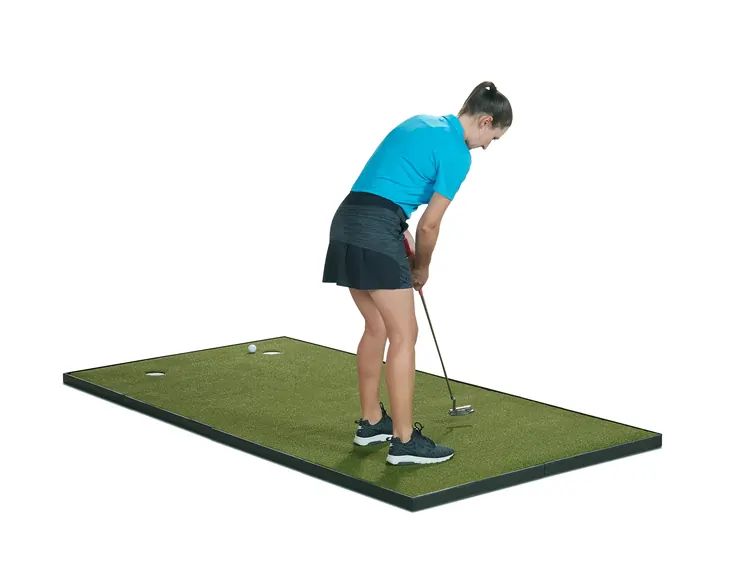
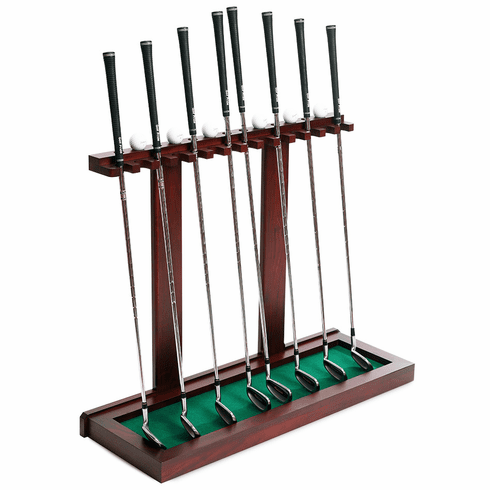
Tips for lighting, sound, and room setup so your home golf simulator feels like a private indoor golf studio, whether it’s in a basement, bonus room, or garage. Explore fun add‑ons like swing cameras, surround‑sound systems, club storage, and décor ideas that help you personalize your space and make every practice session feel like a trip to your favorite local sim lounge. We’ll dive into golf simulator lighting solutions, acoustic panels, and soundproofing materials that create a professional-grade environment while discussing golf simulator furniture, ball return systems, and hitting bay layouts that maximize comfort and functionality. Discover essential golf simulator accessories like launch monitor stands, simulator grips, alignment aids, and putting green options that enhance your training experience, plus learn about golf simulator upgrades such as hitting mats with ball return features, side-impact netting, and weather-resistant outdoor simulator setups. You’ll also find inspiration from golf simulator room décor ideas, golf cave designs, and personalization tips that transform your space into a premium indoor golf facility without the country club price tag.
More Upgrades for Your Home Golf Simulator Experience
Golf Simulator Maintenance: Taming the Gremlins
Master the maintenance essentials for launch monitors, projectors, hitting mats, and impact screens. This is the key to keeping your home golf simulator performing like a commercial facility year after year. We’ll walk you through software updates, firmware upgrades, calibration procedures, and troubleshooting techniques that prevent common launch monitor issues and keep your ball data accurate and reliable. Learn how to maintain golf simulator sensors, clean projector lenses, care for your impact screen, and extend hitting mat durability through simple preventive steps. You’ll discover when to recalibrate your system, how to fix projector problems, what causes inaccurate ball data and how to correct it, and whether DIY repairs or professional service makes sense for your setup. These practical maintenance tips ensure your golf simulator runs smoothly without costly downtime or performance degradation.